Recording


|
Recording |
|
|
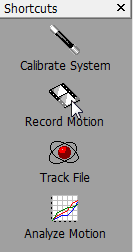
When you are ready to begin recording, click on the Record Motion button.
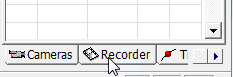
Then click on the Recorder tab on the bottom right of the screen.
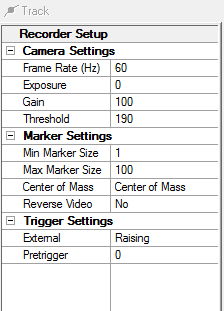
This will bring up your Recorder Setup menu.
With MaxPRO you can easily input all your camera settings including frame rate, exposure, gain and threshold manually or by clicking on the drop down box choices for each.
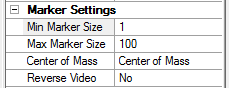
Once you have specified your camera settings, next input your Marker Settings.
Marker sizes are expressed in pixels. The defaults are 1 to 100, and these are adjustable. The Center of Mass has a drop down box that allows you to choose your method used to determine the middle of your centroid. You can choose from Average, Center of Mass, or Circle Fit. The default is Center of Mass. For anything other than a good, solid circle mark, use Center of Mass. Reverse Video refers to whether you are using black marks on a white background. Most applications use white marks on a black background, so the Reverse Video default is No.
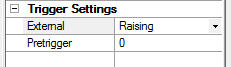
Last are your Trigger Settings.
You use the External Trigger to start recording. The default for this setting is Raising, but you can choose options of Off or Falling, depending on how you will be using your external trigger. You can either manually input your Pre trigger duration as percent of your recording or use the drop down options provided. Once you have put in all your recording settings, you can begin recording your data by clicking on the Record button at the bottom of the screen.
After the recording has stopped, the Viewer button will be enabled and you can check your recording before you save your video or readjust your settings if you wish before making a new one. MaxPRO tracks at the same time it records. When you have a sample you wish to analyze your data with, you are ready to go on to the Tracking section.
Select Save As from the File menu to save the file. Your saved files In MaxPRO will now have the motion capture (.moc) file extension. MaxPRO will then switch over to tracking mode. To record another video, select New Recording from the File menu.
|