How to Digitize


|
How to Digitize |
|
|
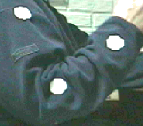
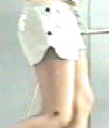
Digitize points of interest in MaxTRAQ is easy. Set the number of points you want to digitize and click on the Digitize button in the Digitizing Controls or press F5. The mouse cursor will then look like below when over the video image.
Simply click where the point of interest is located. If you have enabled Audio Feedback, MaxTRAQ will beep after each point. You can zoom in 4 times around the mouse cursor by holding down the shift key. This allows you to digitize with more precision.
After you have turned on Digitize mode, the following options are available:
You can track all of the points at once (AutoPoint ON) or one point at the time (AutoPoint OFF). When youre using the Autotracking feature, you need to have landmarks that the tracker can distinguish from the background. These landmarks can either be dark points on a light background or the other way around.
Note; Autotracking is only available in the Standard Edition of MaxTRAQ.
|