Calibrating the System


|
Calibrating the System |
|
|
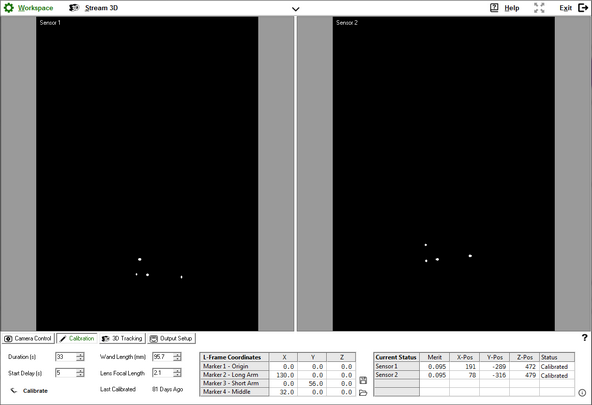
After you have adjusted the camera(s), select the Calibration Tab. Place the L shaped Reference Frame at the bottom of your camera views so that the Wand Movement doesn't get in the way of the reference markers. You should now see the following screen:
Before you can start the calibration process, you will need to enter the measurements of your Wand Calibration Kit as well as the focal length of your lens. The default lenses shipped with your camera(s) are:
Max1500: 2.1 mm Max300: 8.0 mm
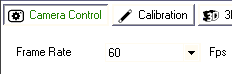
It is recommended that you use 60 fps as your frame rate when you calibration. Switch back to Camera Control Tab and make sure it is set to 60 fps.
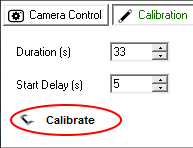
After you have confirmed the frame rate, switch back to the Calibration Tab. Set the duration of the calibration to the maximum of 33 seconds. This will record enough frames to create a good calibration. Use your wand and move it around in the camera views to get accustomed to what the cameras can see and how to move the wand.
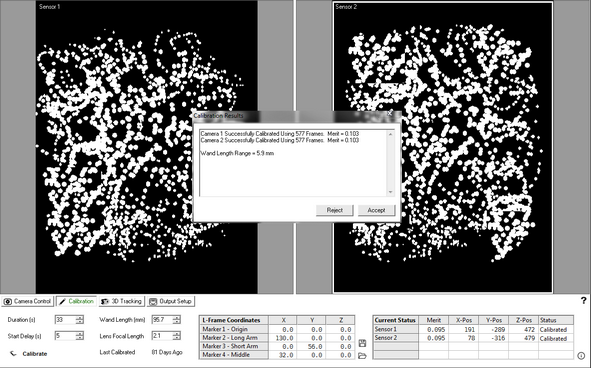
When you're ready to start the Calibration Process, click on the Calibrate button or use Alt+C or just C to start. You can specify a start delay to make it easier if you're by yourself. Move the wand around in the 3D volume and make sure the movements cover up the camera views for the entire duration. After the recording is done, a dialog with the results will be displayed.
It should also be noted that that the number of frames used should be at least 300 for the calibration to be successful.
|